Monday 30 August 2010

The naming of our happy brood

With help from my niece and our neighbours kids we have named our chickens.

Please meet: Lilly (black rock) and caroline (speckledy) with nugget (blacktail - brown coloured in the background).


Snowy (white star)


Nugget (blacktail - brown) climbing the ladder followed by kiev (white leghorn). In the background is lilly.

Sunday 29 August 2010

Finishing off and the chickens arrive

Despite the weather we have managed to make some good progress. Unfortunately, Steve has not been well so we have been finishing the job ourselves. We had to finish the nesting box...


...and put in a wooden floor (removable for cleaning).


We started to build the roof...


...and Ant roped in another friend to help us put the rest of the chicken wire up.


Ant's dad sheltered from the rain and painted the inside of the roofing planks.


Very bravely, JB fixed plastic roofing to give the chickens a dry area in the run.


I worked on edging the run.


Ant and his dad finish the nesting box...


...and roof.


We cut a novel window in the hut door. This will be covered with transparent acrylic sheeting.


The chickens arrive! We bought our chickens from www.happychicks.com who are based near Poulton-le-Flyde.


We decided on a 4 hybrids and a white leghorn. Here you can see the blacktail, speckledy and blackrock.


We also have a whitestar pictured here with the white leghorn.


Ant's dad releases the girls into their new home.


We then realise it is a good idea to also put a catch on the inside of the door!


The only chicken to be named so far decides to explore. She is called 'nugget'.


The girls seem to really like this corner!


The white leghorn seems to be the most dominant already!


The girls take a rest after the long journey.

Wednesday 18 August 2010

The next few days construction

Ste has been away on holiday for the weekend so we made some progress on our own. Ant and his dad bash up the large concrete blocks to create a hardcore layer.


The chicken house has a 2nd coat of paint.


...and so does the run.


Ant breaks up the concrete base of the filter area, which is now infront of the chicken house, so we can grass over here.


We start to edge the run with concrete edging blocks.


Ant's dad continues edge around the other side of the run.

Thursday 12 August 2010

Day 3 of construction progress

This morning Ste started by measuring up the door frame.


He then put on one of the front doors and built a nesting box. The box will have a plywood lid, which will be covered in roofing felt so it is waterproof. It will also obviously have a entrance hole from the house!


Ste built the frame for the door on the run.


...and Ant's dad started painting the frame.


I started shovelling the stones that had surrounded the pond into the hole. These should help with drainage, but also means we can grass over right up to the frame.


Ant's dad made good progress with the first coat.


...and Ste finished putting the other door on the house. The area infront of the house is concrete and we will be breaking this up and also grassing this area.


At the end of day 3 the run and house have had their first coat of paint and are looking good.


Over the next few days the plan is to give all the wood a number of coats of paint ready for filling the hole, putting the chicken wire up and finishing the house.

Wednesday 11 August 2010

Day 2 of construction progress

Construction continued today with Ste putting the final 2 upright supports on the run and knocking down the last section of the concrete walls. Here he is stratching his head deciding what to do next!


The filter bay area was cleared out ready for building the hen house.


Ste then put cross-braces throughout the run to ensure it will stand up to the heavy winds.


...and then he put together the structure for the drop down hatch to allow the chickens to enter the run from their house.


Construction of the hen house started using the decking that had previously surrounded the concrete walls of the pond.


Ant's dad helps out as the pent roof starts to take form.


At the end of day 2 the hen house is built.


The job list for tomorrow includes building the front door for the house with built in nesting boxes, putting the door into the main run and painting all the wood.

Tuesday 10 August 2010

Day 1 of construction progress

Keeping chickens is something that has been on the cards for a while. Unfortunately, due to council regulations, we are unable to keep chooks at our allotment plot. Yes, we know due to the allotment act we could have a good stab at fighting this, but having the coop at home is much easier for maintainence as well.

The major hold-up in us setting up our coop has been that we didn't have enough room in the garden without some major upheavel. For many years we have kept koi carp. We had a large japanese style koi pond and for the chickens to become reality this had to go. This was a sad occassion. The koi were beautiful and entertaining, especially the chagoi who we were able to hand-feed; but, this did allow us to enter into the realms of becoming chicken keepers so every cloud has a silver lining!

The first task was to sell the fish. This was easier than it sounds mainly because they were so large. We posted an advert on an internet forum and, pleasingly, got alot of interest.

Our fish were sold to 2 buyers. The first were a family who were relatively new to koi keeping and they took the the majority of the koi and the goldfish. The second was a guy who was very knowledgable, experienced and had a pond 4 times the size of ours. This was ideal for the sturgeon as he was somewhere around the 3.5ft long mark. In addition, the 2nd chap took the chagoi. He was tempted in by his cheeky charm and we are pleased they found good homes.

Our chagoi could be hand-fed; chagoi's are known for this. Perhaps they are just stupid, but they are good fun. This fish was no problem to catch - it literally swam into the net!


Here are a couple of the large koi. The orange koi is matsuba. He was 15 years old.


Large sturgeon (diamond back) being caught by his new owner


Once the fish had dissappeared we roped in a friend to help us demolish the pond and convert the existing structures into suitable chicken housing.

The work started today.

Firstly our friend, Ste, started removing the wooden cladding from the pond. This will be recycled in building the chicken house.


The pond was drained using an electronic pump.


Ste shows his enthusiasm!


Here he is attempting to un-do the corner braces on the pergola. This didn't work! Later on the crowbar came out!


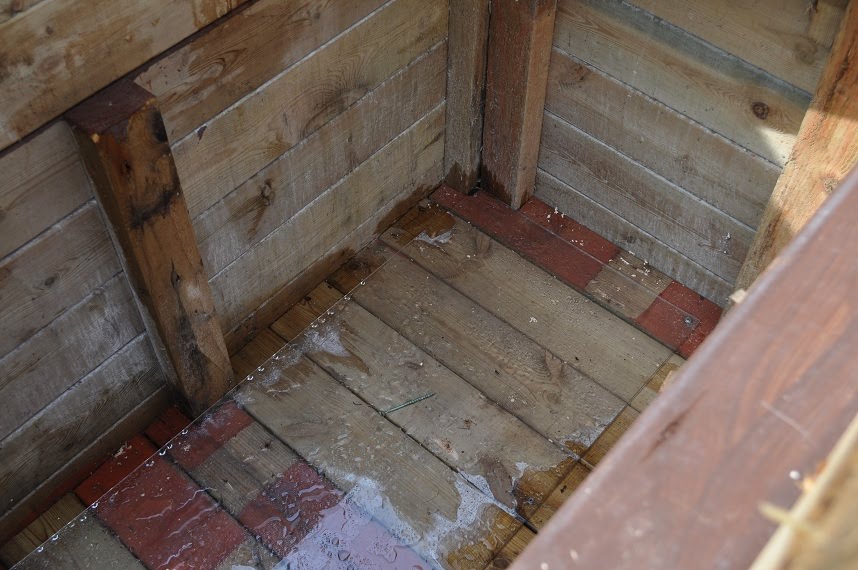
This filter bay area is to be made into the hen house.


The pond is draining well in this pic.


Ste used a circular saw to cut directly through the bottom drain. This is so the pond area can drain once it is filled in. We also put some holes in the walls of the pond so water can move sideways as were near the water table level.

\

Here I am attempting to knock down the first part of the concrete walls.


Ste shows me how it should be done!


With a wall down Ant's dad admires the progress.


The progress attracts more attention.


I get the boring job of knocking off all the mortar so we have a nice level base for the frame.


Ste puts in more uprights to stablise the structure as the walls are taken down.


When most of the hardwork is done Ant arrives home from work.


Ant gives Ste more instructions as he starts taking down the final wall


By teatime we have made good progress. So far we have drained the pond, knocked in the majority of the walls and stabilised the pergola's structure. It is quite a large area, approximately 8 ft x 9ft. The filter area is to become the chicken house and that is tomorrows main job.